Showing posts with label airbrush. Show all posts

Friday, 12 April 2019

Keeper of Secrets - Avatar of Shaah Complete


Well, this was one fast project. I started work on Saturday; picking up where I'd left off in the build 2 years ago, and started painting on Thursday morning. 24 hours later and I'm done!

To be fair, the speed of the paint process was mostly due to the nature of the model. I also maximised the amount of work I did with the airbrush, so I spent about 2 hours on that part of the paint. After that, it was just a matter of sorting out the details. Oh, and fair warning, this post contains moderate resin boobies!


For those who aren't familiar with the model, this is the Avatar of Shaah by Raging Heroes. It's about 8 inches tall to the top of the sword and is all resin. I've written a review of the kit lower down, if you're interested.

My favourite part of the paint is the glowing eyes. They didn't take a lot of work, and I'm really happy with the final result. I basically just airbrushed them with dark angels green, then Vallejo escorpina green. After that, I washed around the area with a little Biel-Tan Green and then just highlighted the central eyes with a ever lightening mix of moot green and white.


Considering the time spent on paint, I'm really happy with how she came out. It's also nice to take something out of the cupboard of shame and get it finished for once. I'm planning to pick up a Lord Discordant tomorrow, and I never thought in a million years that I'd actually finish this model before then.


Anyway, that about rounds it out for the Avatar itself. Due to some difficulties with this kit, I've also written about the process of building it (which is basically just a massive page long complaint), but if you're just here for cool pictures, you can skip that bit.


Kit Review

I'm happy with the look of the final model now that it's done, but honestly it was a horrible experience to build. Resin can be hard to work with, and I've gone through plenty of resin models in my time, but in a number of ways Raging Heroes really dropped the ball on this one.

A gap in the claw you can fit your thumb in...
For one, the kit was rather shiny and coated in a very noticeable quantity of release agent which was resistant to cleaning and took a lot of work just to prep. The fitting for the individual parts was also quite poor, and even with the best will, there were a number of gaps that you could easily fit a thumb nail in all over the model.

I expect to spend some time with greenstuff filling gaps, but the position of the seams was just plain terrible, and the kit honestly feels poorly designed. Often seam lines between parts seemed to be arbitrarily cut straight through crucial rounded areas that were next to impossible to fill cleanly.


Looking at a mock up of the model before paint or greenstuff, if you enlarge the picture, you'll see that there are seams running though every inch or so of the claw on the right. The front side is the better fitting one, and let me tell you it took quite a bit of time to fix all of that.

The worst seam on the whole thing? the butt. For some reason, they decided to cut the legs at the hip to the groin (which you can also see in this picture). That would've worked well if the avatar had clothes, but with a bare demon ass to contend with, it basically left a large horrible seam right across the body that was really unnecessarily hard to fill and work with. Why they didn't follow the line of the chains, I'll never know.

Detail pickup is ok, but far from ideal as well. It just feels slightly blunted and lacking in the crispness that you see in other manufacturers (eg: Anvil, Forgeworld, Prodos, Black Sun, Wargame Exclusive, Nocturna, even Finecast). Overall, if you like the model, I'd still get one, but just know that it'll be a ton of work, and honestly don't even go there unless you're an experienced model-maker.

I don't like slamming a manufacturer, but I've got other Raging Heroes models from the kickstarter, and it'll probably be a few years till I can face working on any of them either. It's a shame, but that's the reason I shelved this project in the first place, and it's a real problem. Does it look nice now? yeah, but I had a ton of work just getting it together in the first place, and it's mostly down to poor design choices.


Tuesday, 19 December 2017

Tau Ghostkeel Battlesuit - 4 Hour Speed Paint


As a bit of a challenge, and for a bit of a change of pace, I painted this Battlesuit (and the 2 drones) over the weekend. I had the idea that I would try to paint it to a high standard as fast as I could. With that in mind, I thought I would aim for about 3 hours on the main suit (with some additional time given to the drones that I didn't really factor in). In the end, he came in at 4 hours 30 minutes, but that includes 30 minutes on the drones. I also ended up applying the undercoat with the airbrush rather than a spray can due to the cold weather and that ate up at least 20 minutes or something. Still, I'm happy with the results and it made for a great Sunday afternoon slice of hobby.


Colour wise, I painted the body with a black through to white blend (2 layers of grey there in the middle). I went back and added a bit of Vallejo Dark Prussian Blue to the recesses to get some interest and to stop it being so monotone. I highlighted the upper edges of the panels with Vallejo white.

I painted the base with Vallejo Cavalry Brown, washed it with Khorne Red and then progressively drybrushed Vallejo Orange Brown, Rakarth Flesh and Pallid Wych Flesh. For the OSL bits, I airbrushed in a dot of Vallejo Escorpina Green. I then washed the area with Waywatcher Green and highlighted with Moot Green and then a mix of Moot Green and white.


That pretty much sums it up. I hope you like the finished mini. Did you notice the incredibly unintentional mistake (one of his lower legs is on the wrong way round! Whoops!!). I plastic glued it too, that sucker is permanent! Luckily, it doesn't notice really. I only worked it out half way through painting him.

Monday, 17 April 2017

Salute Painting Competition Panic!

With less than a week to go till the big event, I'm determined to be finished on time; although the jury is still out on what the quality of my entry will be in the end!


For those who missed it, Salute is the biggest independent Wargaming convention in the UK. Fairly obviously, this means that the painting competition is the second biggest around (after Golden Demon). A few months back when the Triumvirate of the Imperium was released, I decided to try my hand at painting up Greyfax for the competition. If you missed it, the project was designed to push the limits of my skill by stretching my painting to the max. For some insane reason, I decided to paint her wholly in Non Metallic Metals (a technique that uses regular colours to replicate the look of metallic objects). I even did a tutorial on the technique as I understood it. My intention was always to enter the finished mini in the competition when the time came.

So, now the time has come and I'm frantically trying to finish. On the upside, I have a doable amount left. On the downside I still have a long way to go. At this point, I don't expect to place in the competition, but I'm still determined to at least finish. My goal was to try and make the cut for the finals, so fingers crossed for that!

The Condemner Boltgun in particular mocks me with its unfinished yellowish mediocrity!


The problem is that the more I look, the more I see that I need to do! Oh well, no sense in complaining about it now... better get back to painting...

If you missed the article on painting NMM, you can find it here:

http://tabletopapocalypse.blogspot.co.uk/2017/01/how-to-paint-non-metallic-metals.html

Monday, 3 April 2017

Infinity Domaru Butai Painted


Well, the blog has been a bit quiet lately; must be time to break the silence with something fresh and different!

I've had these miniatures sitting about for quite a while now, and I was looking through my drawer the other day and I decided that it was high time I finished them. Those of you with good memories may remember them from my Painting Orange Tutorial from a while back.

If you don't play Infinity, they're from a faction called Yu Jing that are basically a conglomerate of futuristic Chinese and Japanese factions. These guys are specifically from the Japanese Sectorial Army. Like I mentioned, I did a tutorial on this color scheme a while back for anyone interested. Technique wise, I use the airbrush to lay down a blend and use a bit of pre-shading. The thing that I really like about this scheme is how saturated the colours look. It's basically the same as my Necron scheme, although for these miniatures I went a bit further to get a higher quality look.

Another thing that you might find interesting is that they're all metal. A rarity in this day and age, but the detail is great, and given how much of a minefield resin can be, I'm glad they went with metal for the whole Infinity range.


I figure it was a weekend well spent. I'm hoping to continue with the force soon, but with Salute breathing down my neck (well the painting competition anyway) I might have to hold off till I can finish Greyfax up, as I still have a long way to go.


Well, that about does it for now. If you like these, feel free to check out the PanOceania stuff I painted too:


Tuesday, 30 August 2016

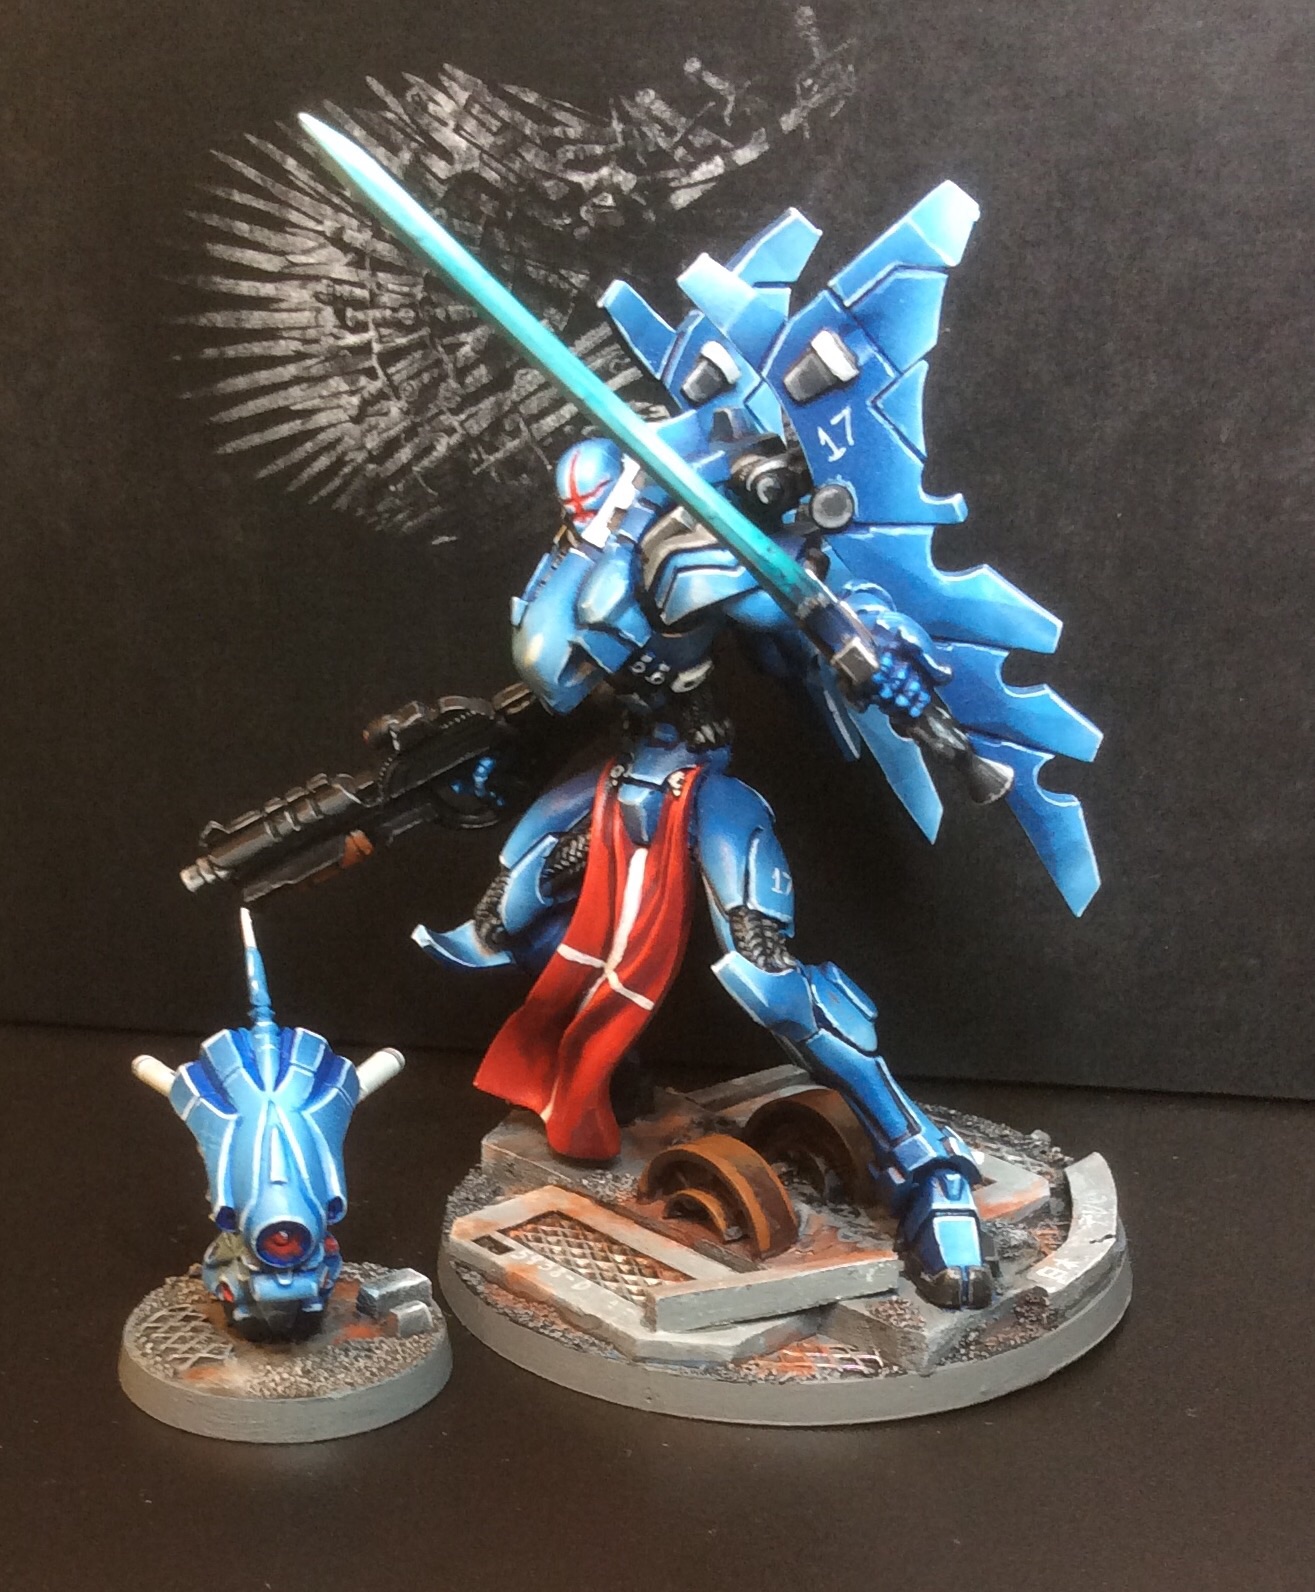
PanOceania Seraph and Auxbot - Plus Group Shots!


To finish-off my PanOceania faction for the moment I've painted up my Seraph's Auxbot. Not only did it come out quite well for just an hour or so of work (I'd basecoated it with the airbrush already), but it also means I can also legally use the Seraph now!


I was so excited to finish them off that I decided to take a few group shots to celebrate.


Thursday, 25 August 2016

PanOceania Nisses


The next finished model for my PanOceania faction. I really like this model (who doesn't like a cool cyber-sniper). He performs well in games too, which always helps!

I had a bit of indecision about what colour to go for with his trench coat, but in the end I chose a sort of pale grey off-white colour. It seemed to fit well and while I had originally thought of doing it red, it seemed a bit too garish and I wanted the focus to mostly be on the armour.

Again, I've been trying to emulate Angel's style here; going for a sort of blended NMM/Ceramic type look. It seems to be working out, but that guy just makes it look so easy and gets such clean results. I can only dream....


Wednesday, 24 August 2016

PanOceania Sikh Commando


Things have been a bit quiet on the hobby front for me for the last few days. With that in mind, I decided it was the perfect time to break out some shots of my Infinity stuff that I've been slowly working on for some time.

A week or two ago I was digging through some of my work in progress drawer when I came across most of the PanOceania starter set from Operation Icestorm (the starter kit for infinity). I had painted some of the models, but most of them had been undercoated and airbrushed with the basic blue colour blend without having any of the details finished. In a moment of hobby indecision, I picked them up and started working on them just because it seemed easy and they were nice models.

Anyway, this is the Sikh Commando, which is a sort of drop trooper (hence the techno-pack on his back). I'm really happy with the way he came out - especially the blend on the armour panels and the overall effect it has given. I've relied heavily upon the trachings of Angel Giraldez for this one and his rather interesting Masterclass book (well recommended for anyone with an interest in airbrushing or infinity).

One of the things I've really enjoyed when painting Infinity stuff is not just the really nice sculpts they're producing, but also the semblance to modern day. It was cool to be able to cut a length of old spear pole to shape and use as a drinks can on his base - I like the look a lot and it's one of those touches that would just be totally "wrong" in 40k, but makes a nice feature here.

I'll be posting more of the faction later this week, so stay tuned for some more shiny blue dudes!


I'm rather happy with the "Cola" can on his base.


Saturday, 6 August 2016

How to Paint - Infinity Yu Jing Orange


This week I'm looking at the art of painting orange - with a step by step tutorial for the Yu Jing faction for infinity. These are also the exact same colours I use for my Orange Necrons, so keep that in mind if you're interested. I'm using the airbrush heavily for this scheme, so if you want to know a bit about airbrushing you might find it interesting.

Lets get started!

As the weather was rather nice (a rarity in England) I've set up my airbrush outside for once!


Step 1 - Undercoat, Chaos Black

The first thing I did was undercoat the models with Chaos Black Spray by Games Workshop. This makes sure we get a really resistant finish and prevents any chipping (especially important on Infinity models as they're all metal). I haven't taken a picture of this stage as it seemed a bit superfluous. Just remember to keep the can a good distance from the mini, shake well and don't ever use the stuff under 10 degrees!


Step 2 - Undercoat, Grey Primer

I then primed the models with a good coat of Vallejo "Surface Primer - Grey". This stuff is almost white actually and gives a good base to work from for our bright colours.


Step 3 - Basecoat, Hot Orange


A goodly Basecoat of Vallejo's Hot Orange comes next. As this is a basecoat I'm just giving the model a goodly covering and really just getting it all on there!

Step 4 - Highlight, Orange Fire

I then run a highlight with Vallejo's Orange Fire. This time I'm adding fairly wide highlights across the panels to add a bit of definition to the shapes and to start to create the final colour that we're going for. I'm also painting up an Aleph bike in orange to use as an Aragoto for the Yu Jing force as I like the model.

Step 5 - Pre-Shade, White


Who just said that it looks terrible? Well, you'd be right.

In this stage what we're actually doing is adding a pre-shade of white. We'll be following it up with a final highlight of Yellow, but to get the yellow to show strongly over the orange we have to add a few points of light with our white first. This stage is the most difficult as you have to be really carefull not to get too trigger happy, or the whole thing will be a mess!

Step 6 - Final Highlight, Sun Yellow


I then go in and  spray a coat of Vallejo's "Game Air, Sun Yellow" straight over the white points that we added. This adds a stark highlight, but is easily smoothed into the base colour. The best part is that the "Air" paint range are already thinned and this layer acts a lot like a glaze that unifies the whole model and gives us the final piece of the smooth orange look that we were going for

Other Details


With the Orange complete I then turn my attention to any swords that I want to do in a crystalline blue. For this I mask the models off using a good quantity of Cellophane. It's worth noting that you should let the orange dry thoroughly first as you don't want to paint to stick to the wrap!

As the first layer, I use an ordinary brush to add a coat of Vallejo "Dark Prussian Blue" to the blades. 


I then Highlight with a layer of Vallejo Green Blue applied with the airbrush, then a layer of 50/50 Green Blue and White and finally a pure White Highlight. This gives the result pictured below. For my Necrons, these are the steps I use to paint their power coils and other glowing details.


Time to Grab a Paintbrush!

With all of the airbrush work complete it's time to grab your ordinary paints and go to work. It was also a relief to get inside again as the sweet smell of Vallejo products on a sunny afternoon was creating a veritable insect orgy on my patio!
The first step after using an airbrush is always inevitably to create some definition in the panels. For this I used an applied wash of Khorne Red directly into the recesses on the armour. It is really important that the paint is applied carefully and not washed over the whole surface or it'll destroy the highlight we've built up. If you're into Oil Washes this would be the time to break one out.


A Khorne Red wash is applied directly to the recesses
After that I continue to add definition by highlighting the edges of the panels with GW's Yriel Yellow. With this step the Orange armour is complete and all I have to do is paint in to other details.

A Yriel Yellow edge highlight finishes the armour off nicely.


Finishing

After all of that excitement I finish off the models with a few simple coats of paint. As I'm feeling generous I thought I'd share the other colours I used. 


White Areas - GW's Ulthuan Grey Base, Vallejo White Highlight
Blues - The same as I used in the airbrush. I then add a final highlight to the sword blade edges etc. with pure white
Blacks - Vallejo Black with GW's Codex Grey Highlight
Purples - GW's Xerus Purple with a Genestealer Purple Highlight and a Druchii Violet wash